Iroast-2 resistor hack
FOB, a fellow coffee entusiast on the Dutch forum, posted about a fun little hack he did on his tiny Iroast-2 to tame the heater.
https://www.koffiepraat.nl/forum/viewtopic.php?f=59&t=13359
Below I post an English translation with his pictures:
I recently started trying to roast coffee myself in an I-Roast 2, a small fluid bed burner that can roast a maximum of 150 grams of coffee at a time. This is fun to do and after the first kilogram it is not only drinkable, but also tasty.
But it burns very quickly. And even though the temperature sensor doesn't seem to be very reliable, it does seem to burn hotter than the set temperature. A post from years ago on a forum of our Australian colleagues describes that the power can be reduced by replacing a resistor. I decided to give this a try.
I don't know if there are other forum members with the same roaster because it has been out of the market for a number of years. But I'll describe the process here in case it helps anyone else.
First you open the bottom of the I-Roast, i.e. the round flap that is secured with 3 so-called "spanner" or "snake eyes" screws. I believe these screws are used to discourage opening a device, and I don't have a suitable screwdriver or bit. That's why I improvise one myself by grinding a slot in an old bit.
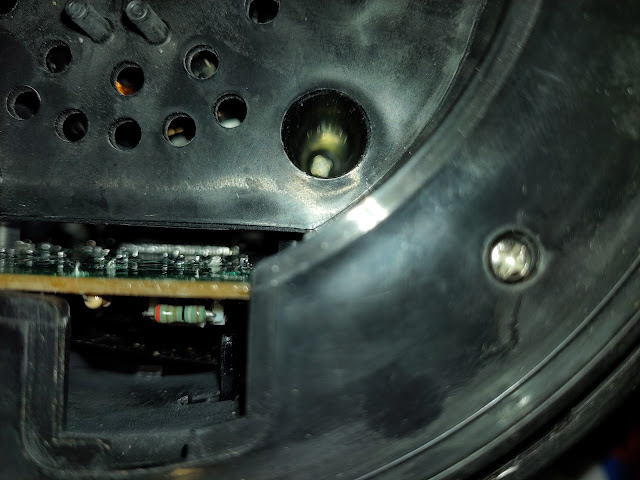
This makes the bottom open easily. It appears not to be necessary to open the device further, because the resistance is easily accessible in the recess at the bottom in the photo.
You can see that it is a 1kΩ resistor (brown, black, black, brown, brown). Remarkably, this is contained in a JST-XH plug, as if it were intended to be easily replaced. We simply pull this out with pliers.
I don't have any suitable plugs in stock, so I'm going to reuse it. We carefully remove the resistor and the crimp terminals from the plug. And we replace the 1kΩ resistor with one with a slightly higher value. I use a 1.8kΩ (brown, gray, black, brown, brown), from which I cut the wires to size. I solder this into the crimp terminals and plug it back into the plug.
Finally, I push the plug with the new resistor back into the socket and close the bottom.
It now indeed roasts a little more relaxed than before. The settings are the same, but the time to first crack and total roast time are longer, while the roast is lighter. The temperature measured by the sensor does not correspond to reality though, because it appears to be higher than before. Now I'm even more curious about a thermocouple.
Settings:
- 160°C @ 2:30 minutes
- 200°C @ 4:30 minutes
- 234°C @ 5:00 minutes
 |


Reacties