Second Fuji PXG4 temperature controller
(Finished project on http://kostverlorenvaart.blogspot.nl/2015/01/finished-pavoni-fuji-pxg4-pid-probe.html)
Early last year I built a roast controller for my Fracino Roastilino home coffee roaster. It reads the temperature from a probe in the roasting chamber and it sends a start-stop signal to the Solid State Relay inside the roaster that switches the heater element.
This controller can be programmed to ensure that a certain temperature profile is executed over time with a high degree of precision per second.
When a pressostat of one of my La Pavoni's stopped working recently, I thought it would be nice to have a temperature controller much like the one I have for the roaster, but this time incorporating its own SSR (Solid State Relay) to switch the heating element of the espresso machine. It could take over control of the heater, replacing the pressostat.
The pressostat is built like the heart of a barometer, a drum-like box with a membrane at one end that can bulge outward more or less, depending on the pressure changes. If the membrane bulges outward from the boiler pressure inside it, it pushes a microswitch or it tumbles a larger switch. If the pressure falls back, the bulge dissipates and it releases the switch again.
A set screw decides at what point the switch will flip and this way the pressure inside the boiler is controlled in a very easy, cheap, simple and durable way.
Since boiler pressure is caused by boiler water temperature, the pressure switch regulates the temperature as well.
One could also measure the temperature and use a PID system to regulate this temperature which will in turn also regulate the pressure inside the boiler. This PID system would likely be more complicated and costly, especially if I would like to be able to program and monitor it using my computer and the free Artisan software, but it would be fun and educational to try.
It would be interesting to control the espresso machine temperature from my laptop and read the temperature in a graph on my screen, also monitoring the temperature values on my iPhone that's connected wirelessly to the Artisan software.
One new application could be to have the espresso machine go into 'hibernation' mode after a certain idle time. It could then cool down to moderate temperatures, yet high enough to be back up to working pressure / temperature very quickly if there is renewed need for espresso.
Or pressure could be increased for a few seconds to have an extra high pre-infusion pressure without the higher (slower) rise of temperature in the brew group.
So I ordered the same parts again but now I included a SSR that is powerful enough to switch heating elements ranging from the little La Pavoni to the Rocket espresso machine or even the 2750 W LONDINIUM machine.
Today, Tije customized the box for the parts and got it all ready for me to wire up and program.
I ordered the aluminum box from Conrad here:
https://www.conrad.nl/nl/proma-130048-universele-behuizing-165-x-110-x-105-aluminium-aluminium-522970.html
 |
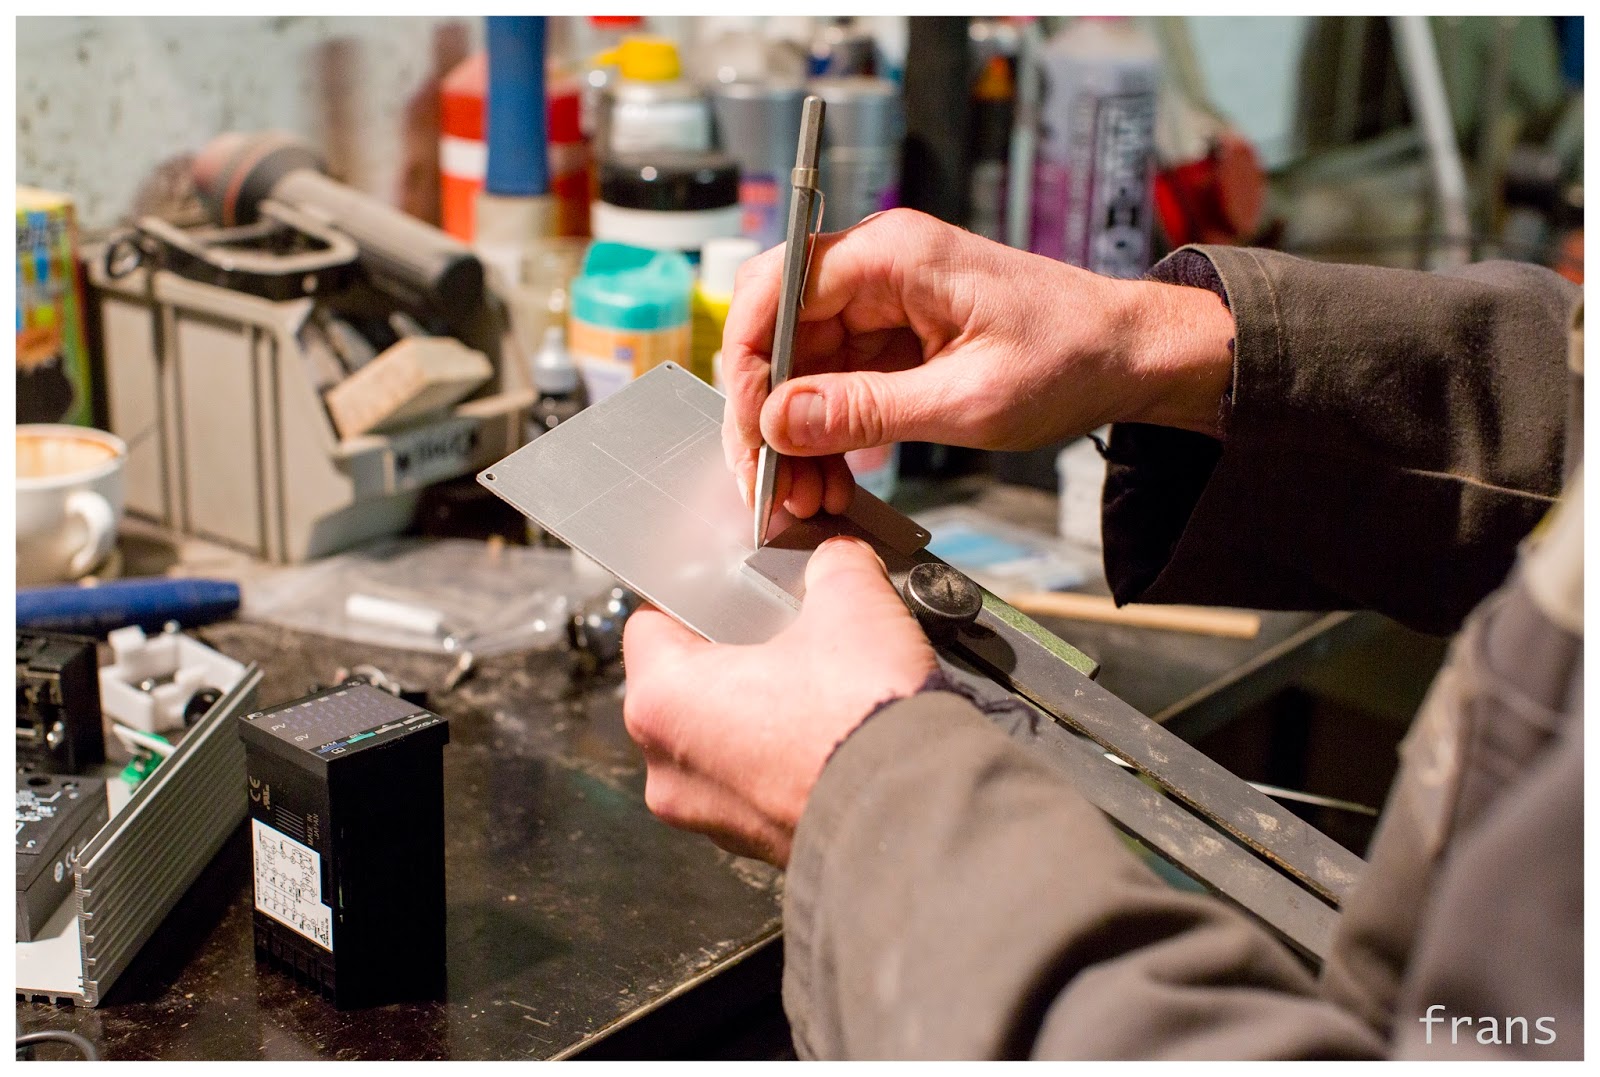
| Drawing the lines to cut |
 |
| Drilling corner holes |
 |
| Cutting into the soft metal, very precise using a thin disc |
 |
| Holes for the on/off switch and program start |
 |
| Widening a hole |
 |
| Shortening a screw |
 |
| Back of the controller: power in, heater power out, probe in, USB/serial out. |
 |
| Front of controller: on/off, PXG-4 PID and program start. Next to it the simple classic pressostat. |
At home I wired up the internals:
(as per the specifics posted on my blog:
http://kostverlorenvaart.blogspot.nl/2014/01/fuji-pxg4-setup-for-coffee-roasting.html
just now the output going to the SSR is going to the input of the SSR inside the box and the output of the SSR is going to one of the sockets on the back, to replace the pressostat switch or the heater switch on the machine to control)
Related links:


Reacties