Kafko's Europiccola Update
Having bought a second hand but relatively new and rarely used La Pavoni Europiccola, I wanted to have it upgraded with a pressure gauge and I also wanted to see if the lever could be turned into one that can be easily taken off to make the machine smaller in transportation. I plan to have a travel box made for the little machine, so taking off the lever would save space.
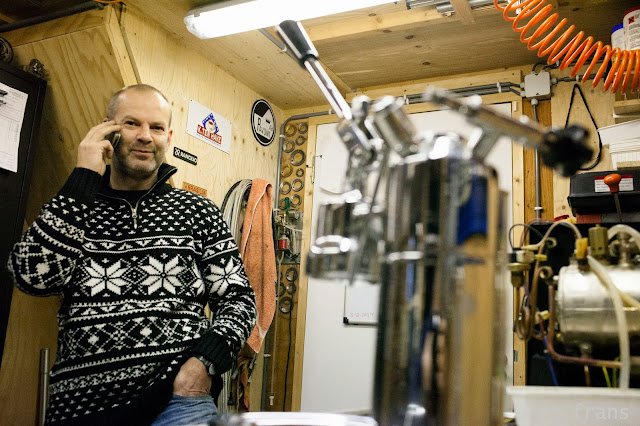
Peter van der Weerd of www.kafko.nl had some great ideas! So I made the trip to Hoogersmilde, and stayed the night in Het Rieten Dak near the place where Peter and his wife Corina live. The three of us had a delicious dinner there and the next morning at 9am I was in Peter's workshop.
This is what he did. First putting it on the bench.
Looking at the thread on top of the waterlevel-glass. Peter will drill out this thread and cut a new thread for the pressure gauge fitting:
Original thread is gone here:
Cutting the new thread, using the big drill to get it perfectly in place and vertical:
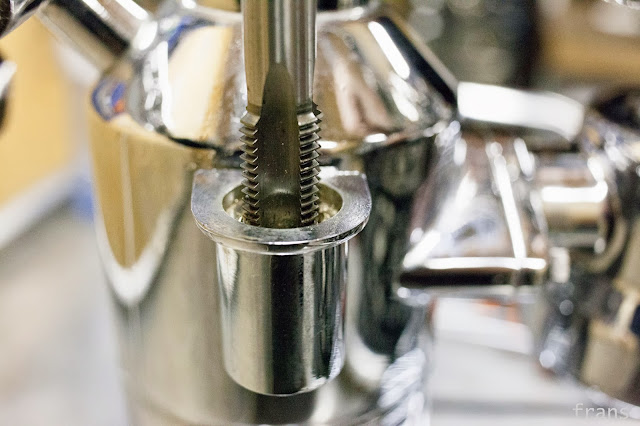
After the first bit on the machine, hand cutting the rest of the thread:
It's a fit!
Tape on the pressure gauge thread:
Pressure gauge in place (later Peter will modify this again):
Next, changing rubbers in steam tap:
Taking off the lever handle:
Taking off the group head:
Changing shower screen and rubber seal:
Looking at the plastic inner bore of the brew group, replacing it with a new one:
The piston and rubber piston rings which will also be replaced:
Peter built a tool to remove the plastic inner bore of the group:
It's out:
Now piston head and new rubber seals:
New plastic inner bore installed:
Easing the new piston and its seals into the group:
Peter explaining stuff to another customer who brought in a machine that needs service:
And on to the lever. First Peter drills a hole into the exiting metal handle, so he can later cut a thread into it:
Checking the size of the drill and the tool to cut the thread:
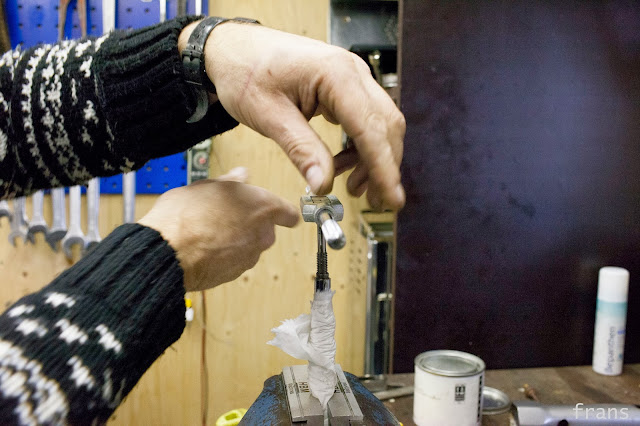
Hand cutting the new thread:
Drilling off the top of the handle:
Now the handle can be screwed on and taken off again!
Some oil on the joints:
On second thought Peter built another fitting, to get the pressura gauge higher up:
Finished, ready for testing. Pressurizing the machine through the steam wand, then closing off the steam wand and holding the machine horizontal, so any leak around the sight glass would show because that's where all the water is:
And the revamped machine at home!
A big THANKYOU to Peter from www.kafko.nl
Peter van der Weerd of www.kafko.nl had some great ideas! So I made the trip to Hoogersmilde, and stayed the night in Het Rieten Dak near the place where Peter and his wife Corina live. The three of us had a delicious dinner there and the next morning at 9am I was in Peter's workshop.
This is what he did. First putting it on the bench.
Looking at the thread on top of the waterlevel-glass. Peter will drill out this thread and cut a new thread for the pressure gauge fitting:
Original thread is gone here:
Cutting the new thread, using the big drill to get it perfectly in place and vertical:
After the first bit on the machine, hand cutting the rest of the thread:
It's a fit!
Tape on the pressure gauge thread:
Pressure gauge in place (later Peter will modify this again):
Next, changing rubbers in steam tap:
Taking off the lever handle:
Taking off the group head:
Changing shower screen and rubber seal:
Looking at the plastic inner bore of the brew group, replacing it with a new one:
The piston and rubber piston rings which will also be replaced:
Peter built a tool to remove the plastic inner bore of the group:
It's out:
Now piston head and new rubber seals:
New plastic inner bore installed:
Easing the new piston and its seals into the group:
Peter explaining stuff to another customer who brought in a machine that needs service:
And on to the lever. First Peter drills a hole into the exiting metal handle, so he can later cut a thread into it:
Checking the size of the drill and the tool to cut the thread:
Hand cutting the new thread:
Drilling off the top of the handle:
Now the handle can be screwed on and taken off again!
Some oil on the joints:
Finished, ready for testing. Pressurizing the machine through the steam wand, then closing off the steam wand and holding the machine horizontal, so any leak around the sight glass would show because that's where all the water is:
And the revamped machine at home!


Reacties